Finding a C++ IDE for a macOS system is as hard as finding a needle in a haystack. Though most people won’t agree with me, I have spent a quiet lot of time finding one, the “Perfect” one like Visual Studio on a Windows Machine, But there are not many When it comes to a Mac There are about two options:
- Installing Xcode
- Installing the Xcode Command Line Tools and using any preferred IDE or Code Editor for writing C or C++ code
The macOS version of Visual Studio is not available for C or C++ as we can develop C# but not C/C++
1. Installing Xcode:
Xcode is an IDE developed by Apple themselves to develop apps for macOS and iOS or all other Operating Systems that Apple develops. It also has support for C/C++ built-in. So after downloading Xcode ( Doesn’t matter if you download it through the mac app store or the official developer website ) and opening it you will be greeted by this screen:
 Your screen would not contain and previous projects
The next step is to click on “Create a new Xcode project”.
Again, if you have an existing project you will click on “Open a project or file” or “Clone an existing project” if the project is on source control.
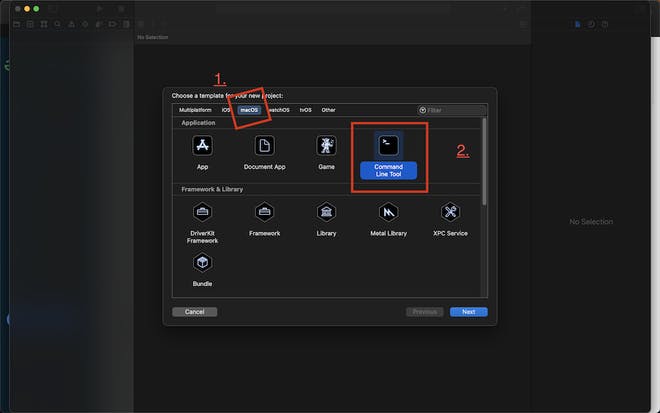
Next, click on the macOS tab and then click on the Command-Line app as it is the only thing where we can develop apps in C and C++
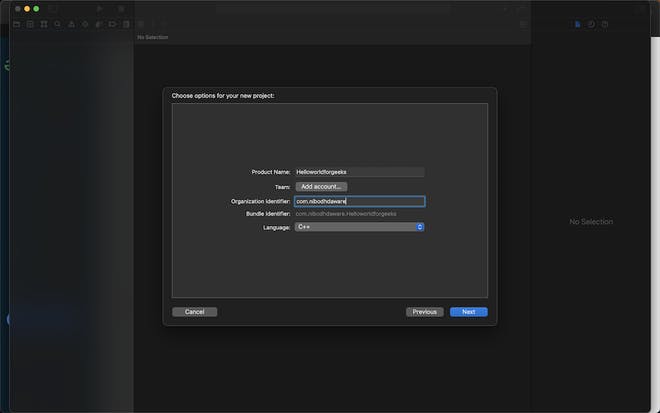
 It will now show an interface to give the product or the app a name and the package name as a normal IDE after giving that name there would be a drop-down to select a language. So, instead of swift, you can select C or C++ and click Next
 Then it will ask for the location of the project on your machine
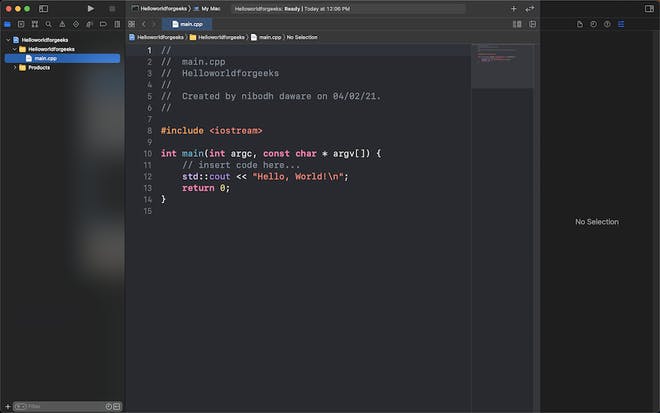
And, done!, you can open or create a C or C++ file and start editing it
2. Installing the Xcode Command Line Tools and using any preferred IDE or Code Editor for writing C or C++ code:
Now comes the next method, Now in this method we need to use the Terminal as we need to download and install only some part of Xcode and not the entire Xcode. This method is useful if you have limited storage or for some other reason. We will be downloading the 2GB part of Xcode rather than the entire 28GB Xcode as we only need the C and C++ compiler. So let’s start by opening the Terminal and type or copy and paste this command
xcode-select --install
and now Xcode Command Line Tools would be installing you will get an interface like this:
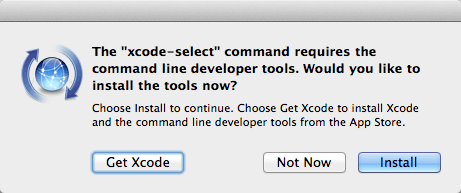
Now click on Install it will ask for your device password so after entering the password it will install Xcode Command Line Tools. Now we can create a C or C++ file and edit it. For this example, I’ll use vscode as it is the best free code editor now as I chose vscode I will need to install some extensions the first one is the C/C++ official extension:
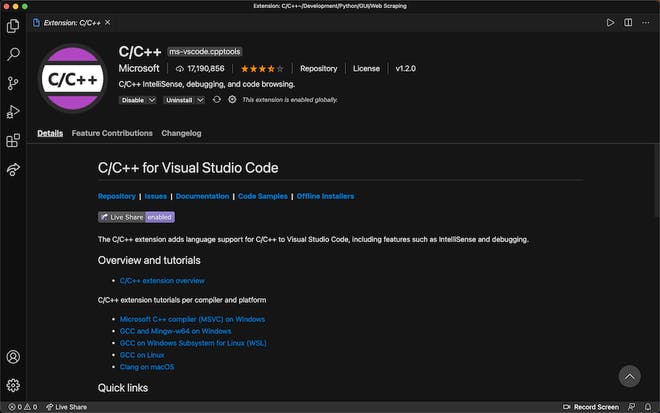
And the second one is called Code Runner
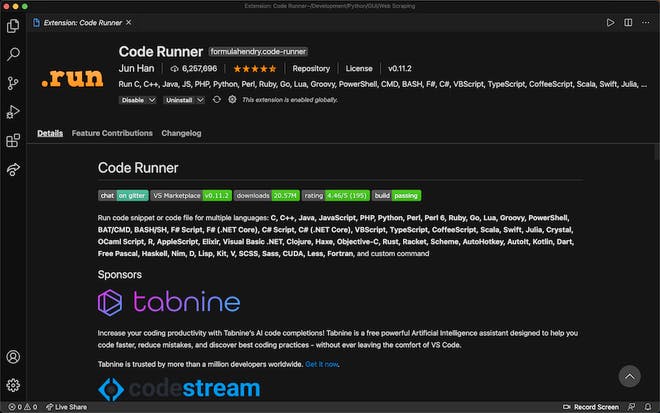
Now you can edit and run C and C++ code in vscode
Conclusion:
Though it is possible to run C and C++ on Mac as Windows as well as the C and C++ languages are managed by Microsoft so it is better to recommend Windows as an operating system to develop C and C++ applications
